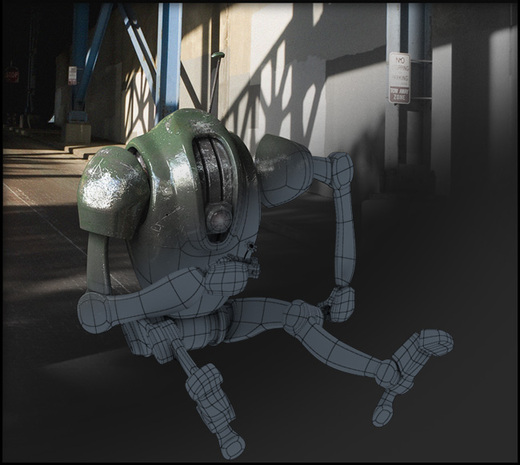
Making Of: uRobot
Modeling
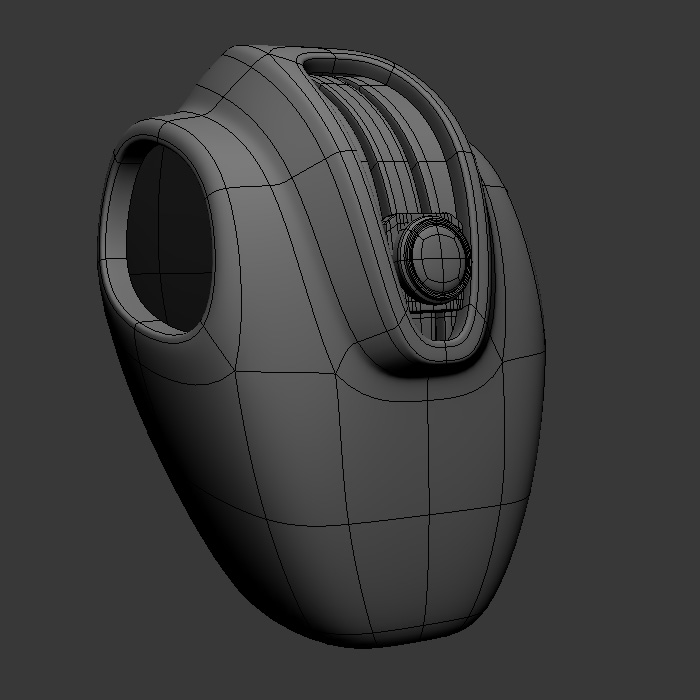

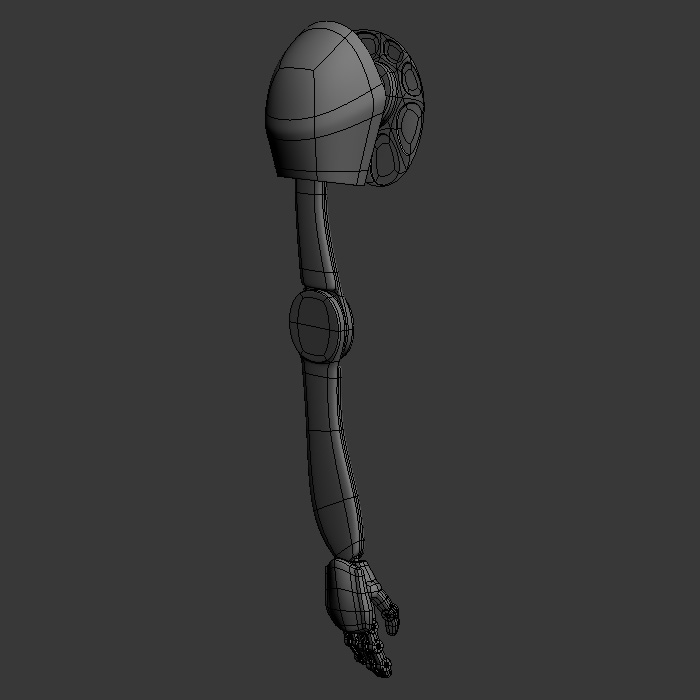
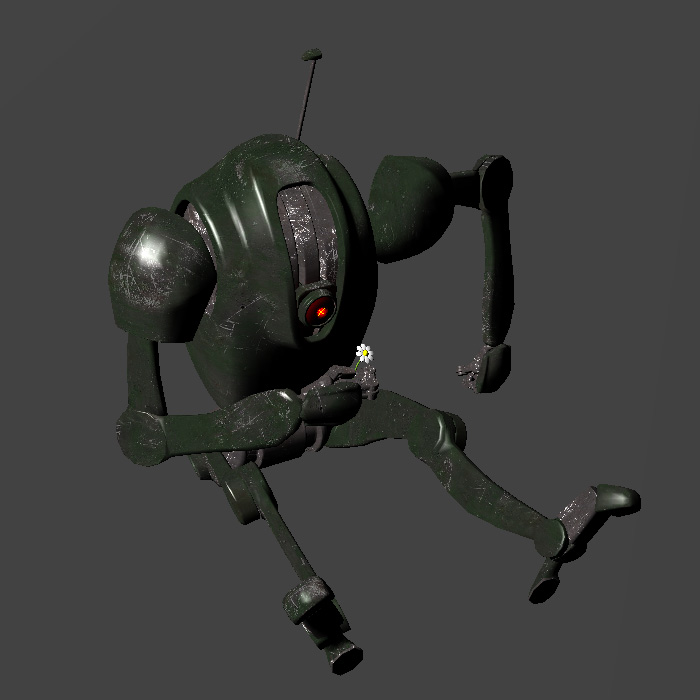
As the main focus of this project was to practice unwrapping and texturing and experimenting with V-Ray shaders and settings, I didn't really put a lot of effort into the modeling stage, hence the rather simplistic geometry. The robot mesh was subdivision modeled from various primitives. The modeling stage in its entirety took place inside of 3ds Max. Total polygon count: 7187 (unsmoothed), 573 832 (render)
Texturing
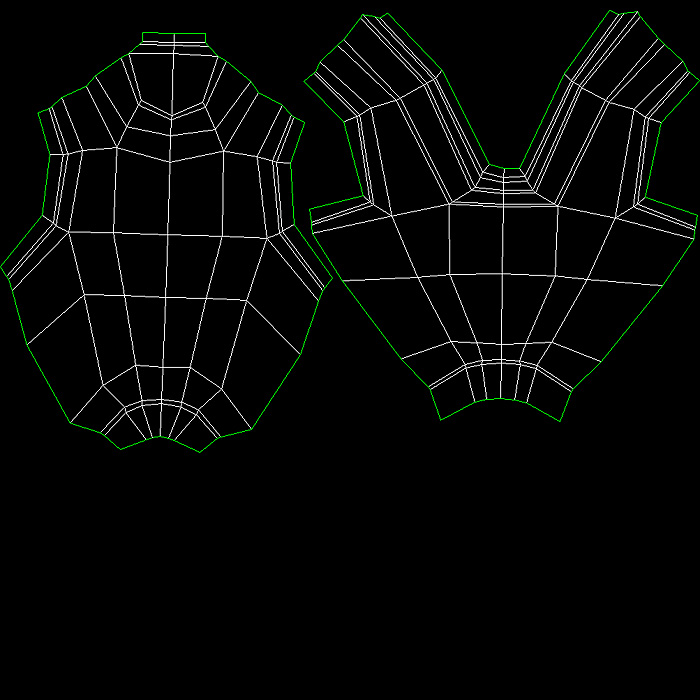
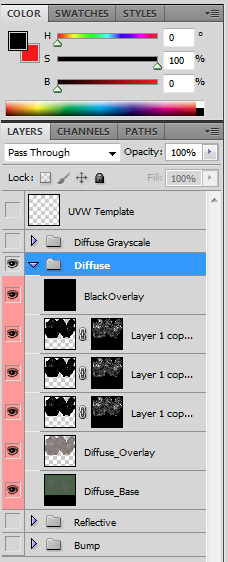
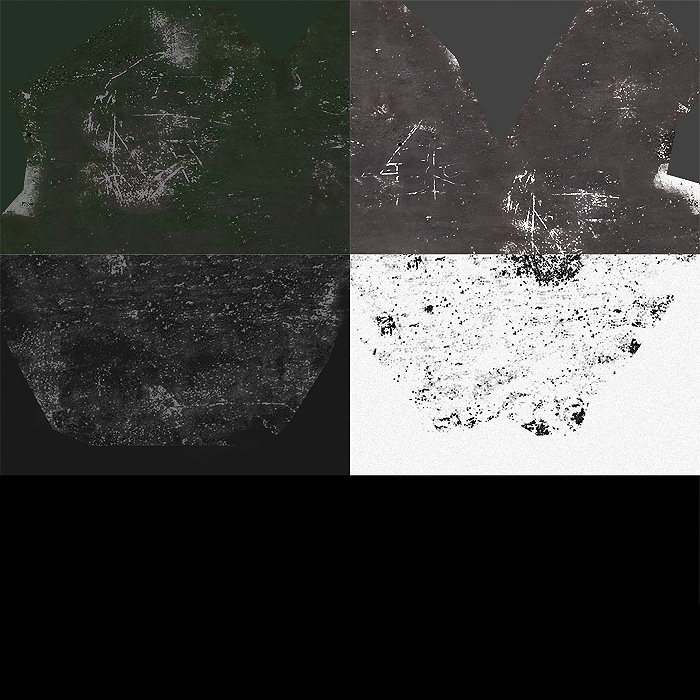
The unwrap was made using the pelt mapping tool to create good UV layouts with a minimum of stretching artifacts. A checkerboard material were applied to make sure the UV scaling were about the same all over the mesh. The actual texture bitmaps were made in Adobe Photoshop using freehand brushes and overlay images. In image number 3 you can see the diffuse, diffuse variation, reflective/specular, and bump map. Each bitmap has a resolution of 2048x2048 pixels.
Rigging
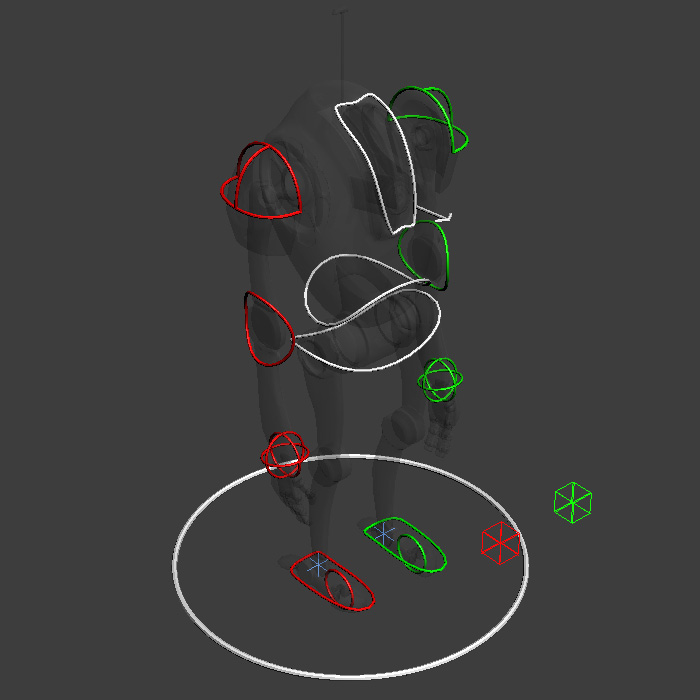
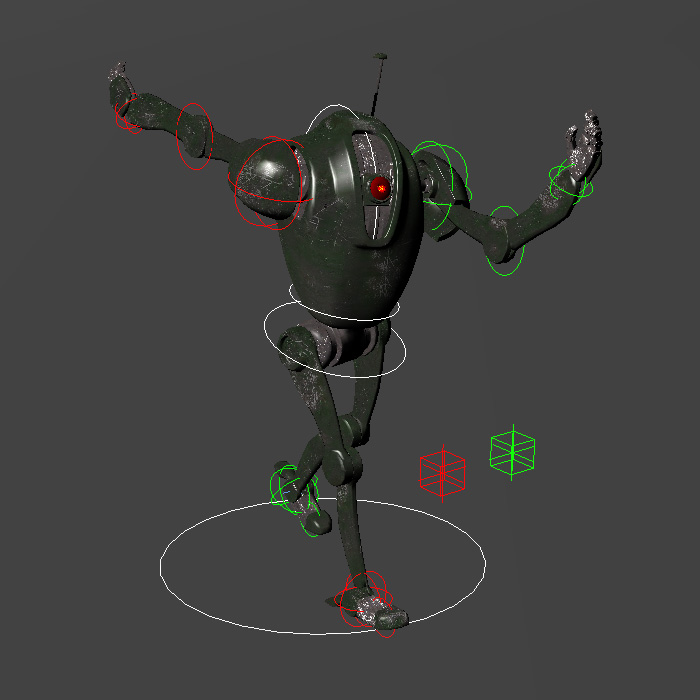
The rig skeleton was mainly set up with link constraints with exception for the legs, which are using a IK solution with additional knee and toe controllers. Some of the limbs were modified to use Limit Float Controllers and locks on movement and some rotation axes.
The mesh was linked to the rig using link constraints.
The mesh was linked to the rig using link constraints.
Rendering


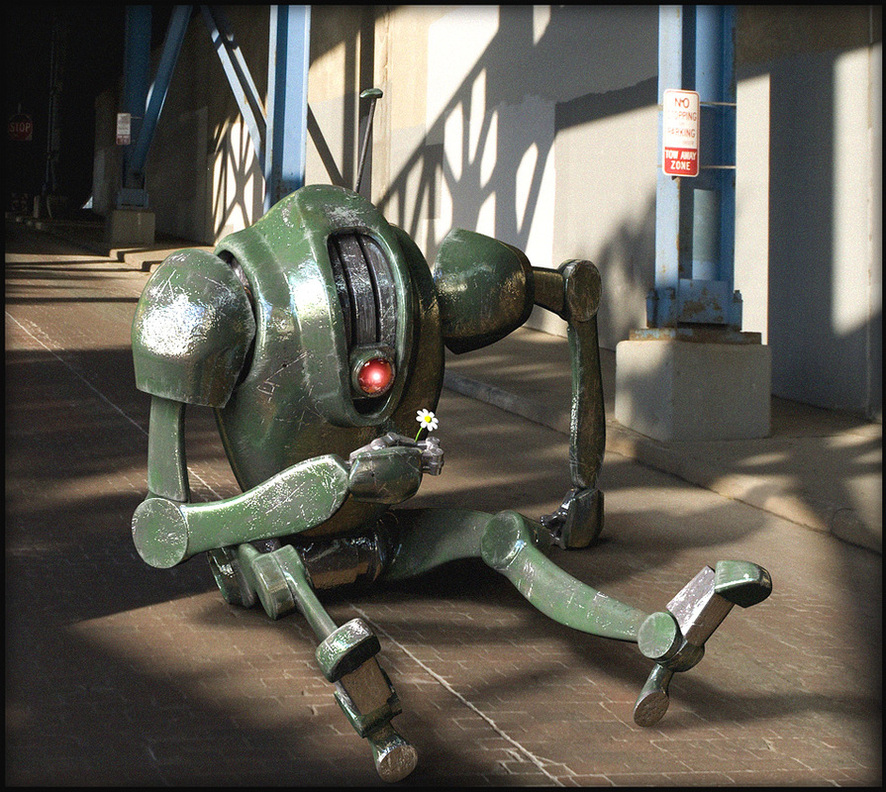
For the final render output I used V-Ray 1.50 SP5 because of its high render quality and fast render time. The huge plane object underneath the robot is a matte object to catch the robot's shadow and AO effect while the background image displays through it. To light the scene I've used a V-Ray plane light to simulate the sunlight. The standard omni light is there to generate a harder shadow on the ground as I found no such option in the V-Ray light.
I'm using a HDR image to further illuminate the scene as well as generating scene reflections. The HDR image had to be manually rotated to match the background image. HDR and background image was downloaded from www.crazy8studio.com.
A camera object was added to the scene and moved around to match the 3ds Max grid to the background.
Post-production
The render passes was composited together in Adobe Photoshop. I did some minor color corrections and added some minor details to the texture.
I also added the glow to the robot's "eye" and edited the reflections and shadow slightly.
I also added the glow to the robot's "eye" and edited the reflections and shadow slightly.
Final Render
Comments
No one has commented yet. Be the first!
