We've then come to the final part of the storytelling and cinematography projects. In this last part we had to create a 3D pre-visualization from the same treatment, storyboard and animatic from before. The way we approached this was we split and divided the work between us in the group, I'd take the modeling, rendering settings of the scene and compositing everything while Ole Petter, Miliam and Tim each took a couple of shots, placed the necessary cameras and rigs, animated it and rendered it out.
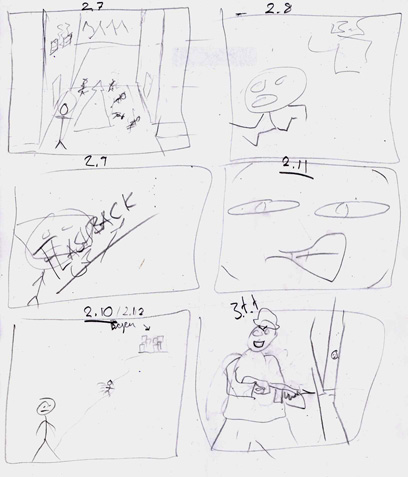
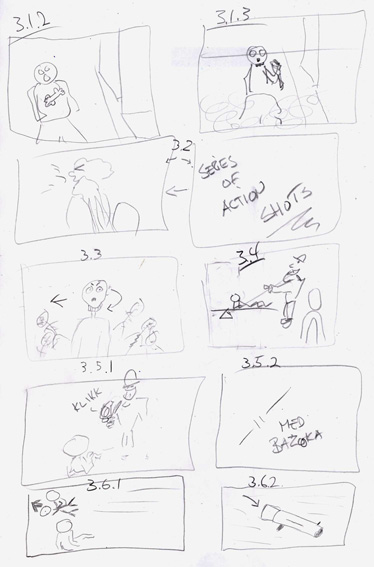
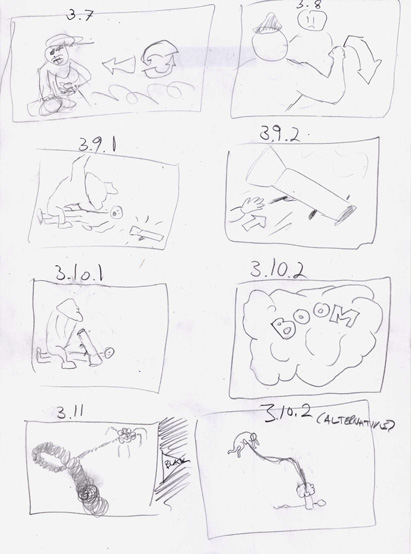
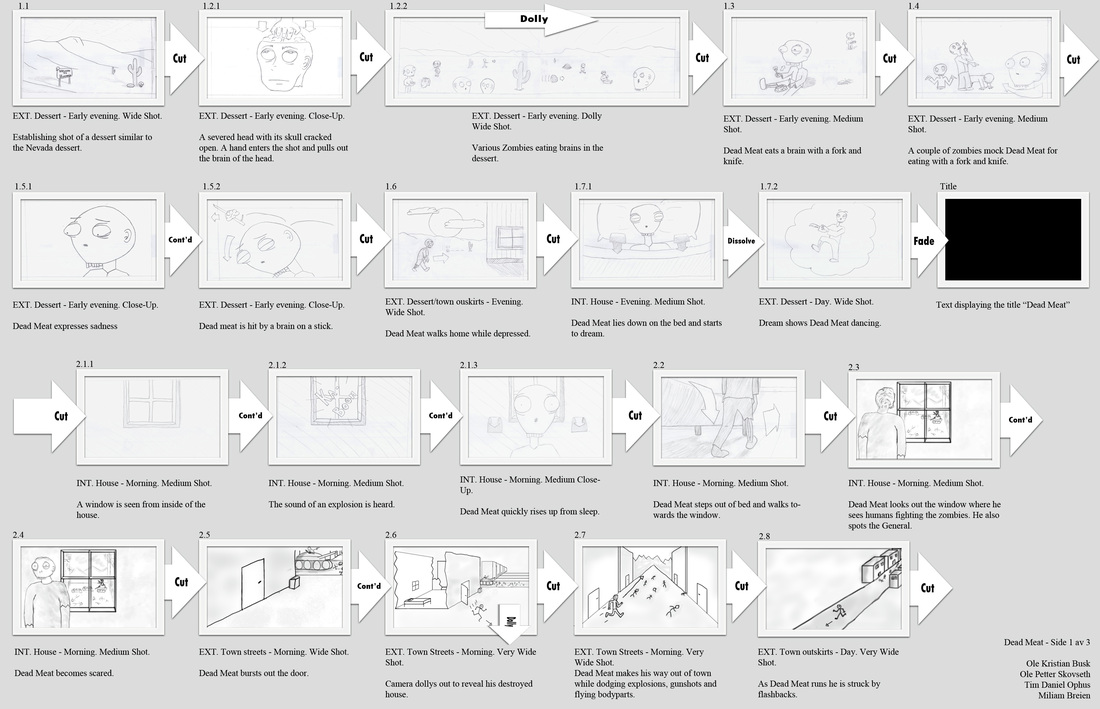
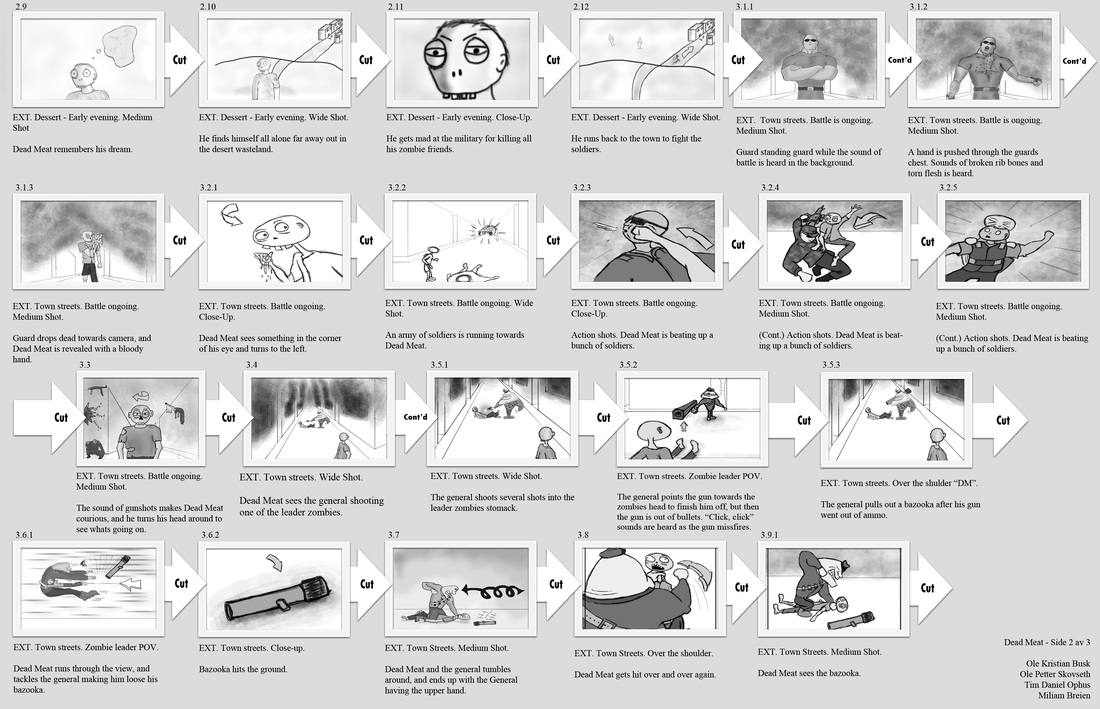
In order to get the scene layout correct, I took a look at the storyboard and created a rough layout of the scene based on the shots. Layout image shown below.
In order to get the scene layout correct, I took a look at the storyboard and created a rough layout of the scene based on the shots. Layout image shown below.
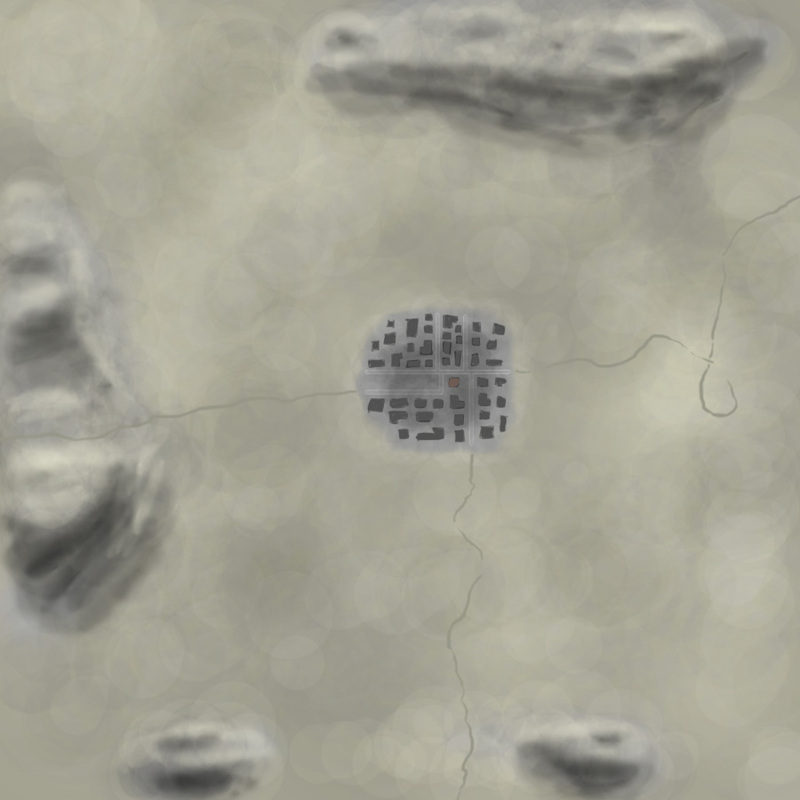
Click image for full resolution
From this 2D layout I quickly modeled the scene and passed it on to my teammates who then added the cameras and divided the shots between themselves. Here's a couple of renders from the scene:
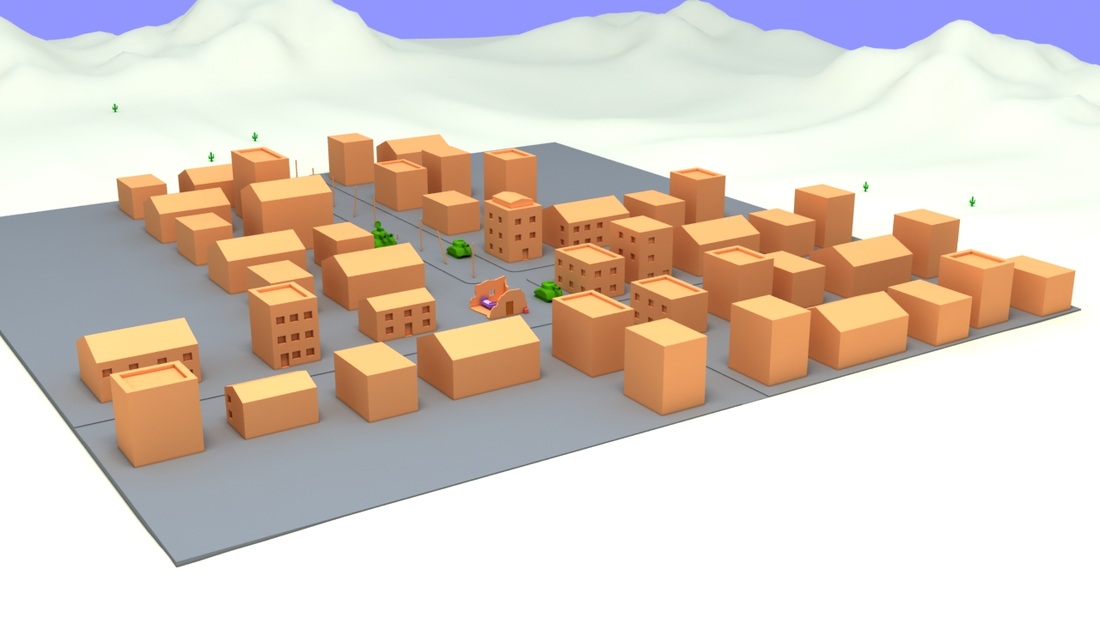
Full scene. Click image for full resolution.
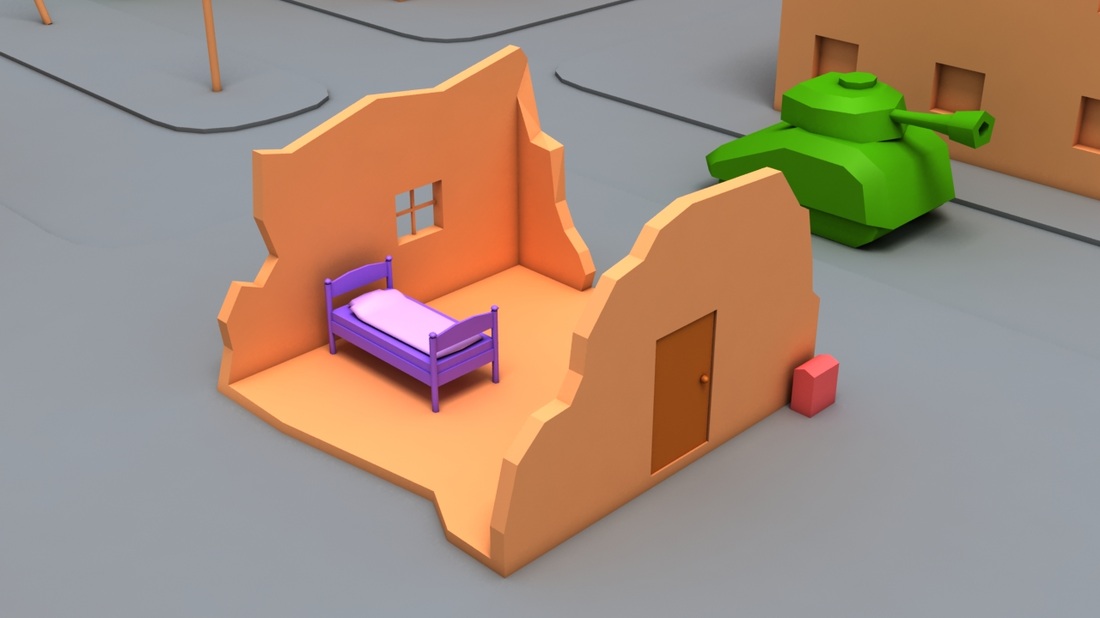
Dead Meat's house. Click image for full resolution.
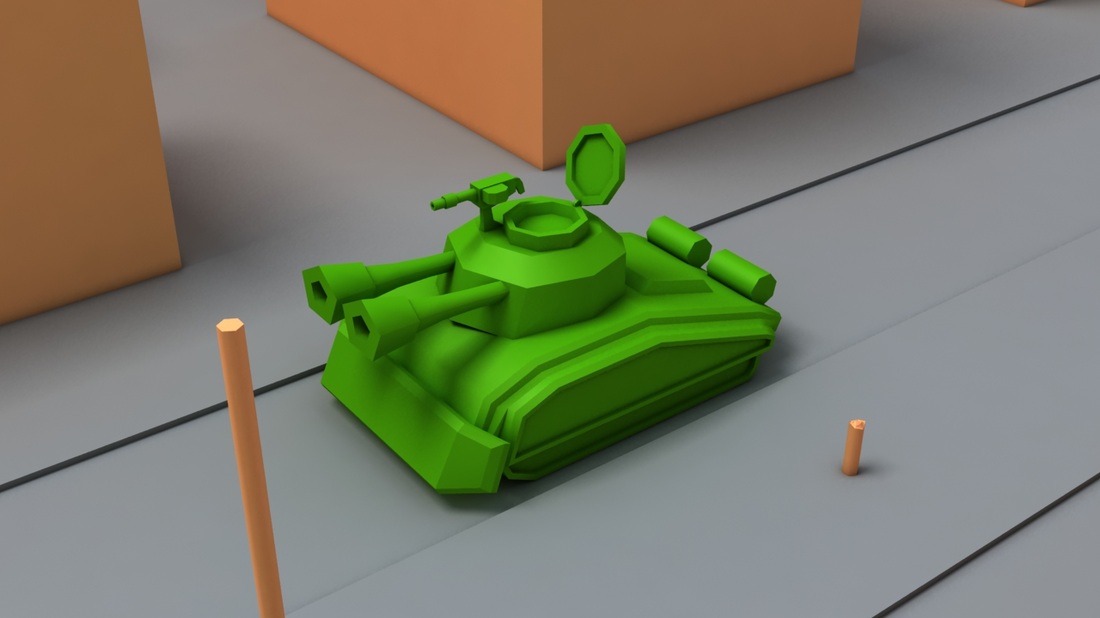
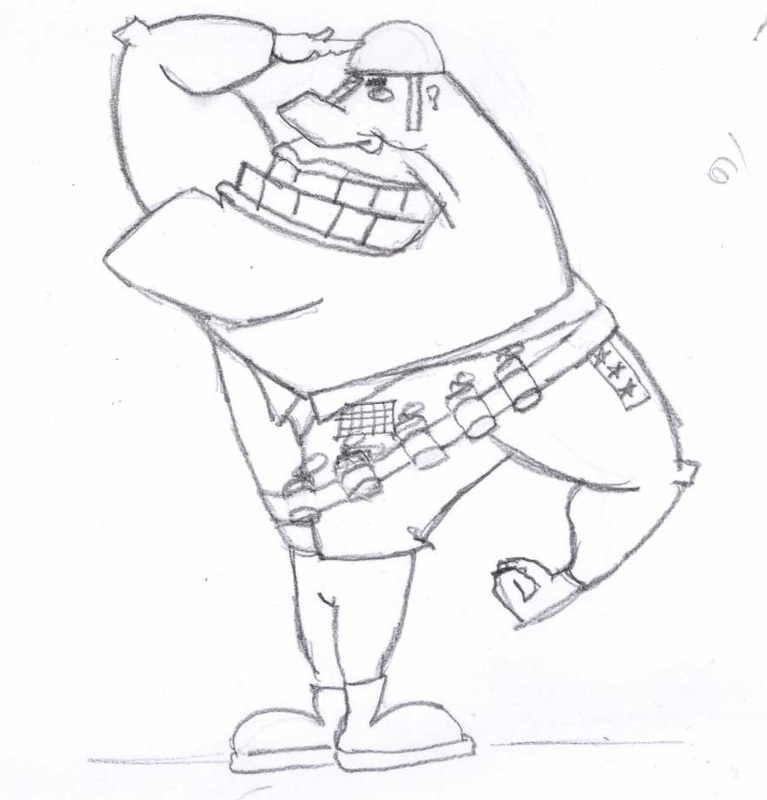
The General's tank. Click image for full resolution.
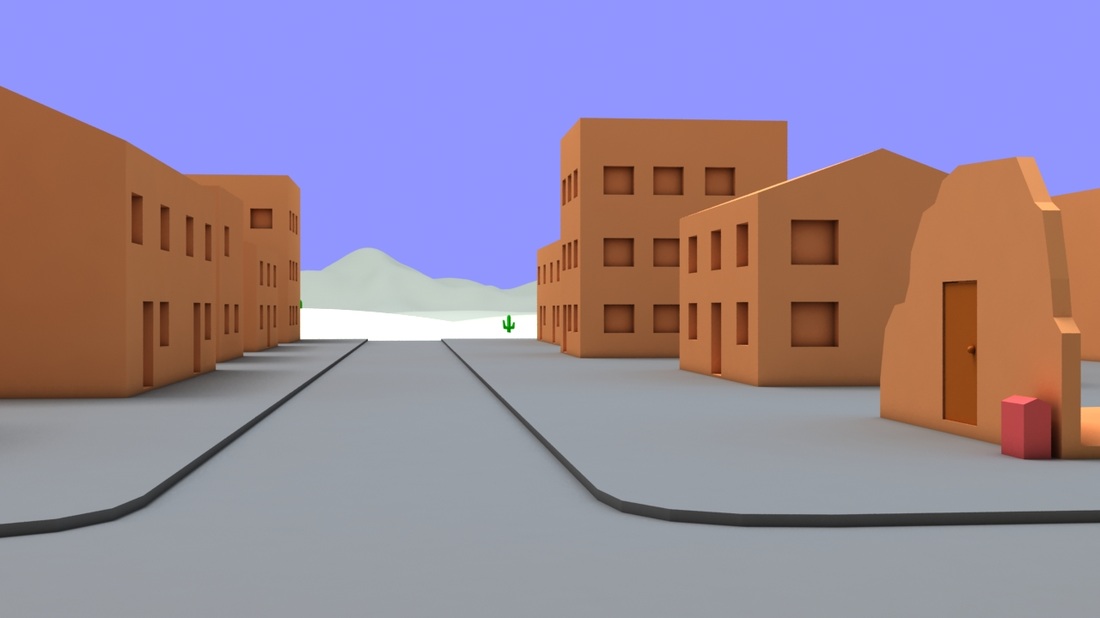
Street view. Click image for full resolution.
After they had finished their animation, I created a render setup that is both fast to render and has a good lighting setup, that'll highlight the bright and cartoony style we wanted. We ended up with a V-Ray setup with a V-Ray sun object and indirect illumination lighting up the scene. Rendertime and quality is both awesome.

As the others started to render out the scenes, I started on the final composition in Adobe After Effects and imported the renders as they were ready. Final output rendered at 1280x720 pixels.
Final Previsualization:
How would you improve the 3d pre-viz that you (or your group) present?
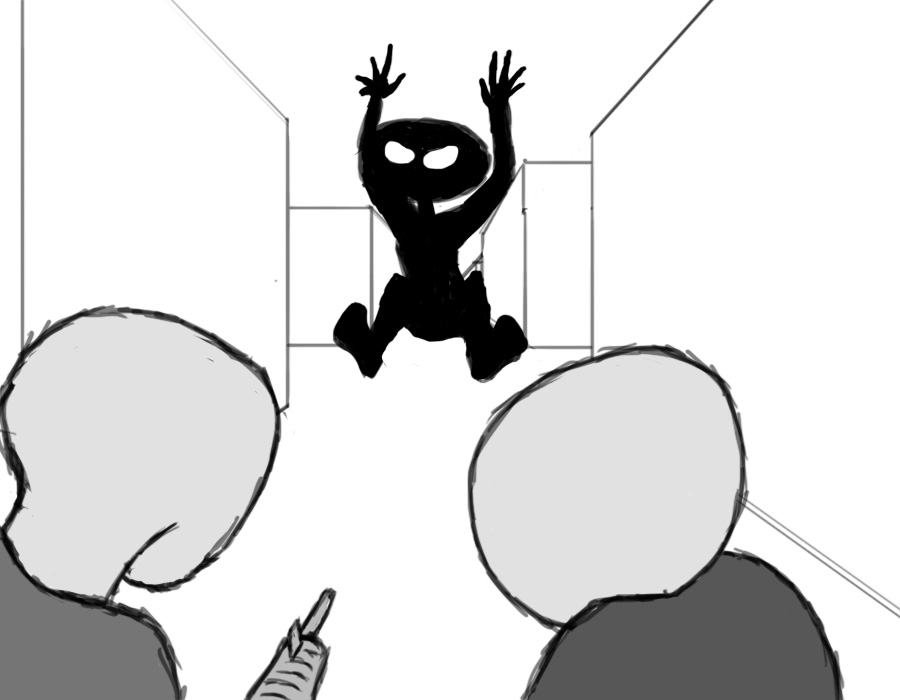
I would personally have added the General into the first few shots, as he's supposed to be introduced to the audience here, fighting zombies from his tank. I believe we could've added a shot or two between shot 2.3 and 2.4 focusing on the General and what's happening to the zombies outside.
What sequence of shots are your most favourite?
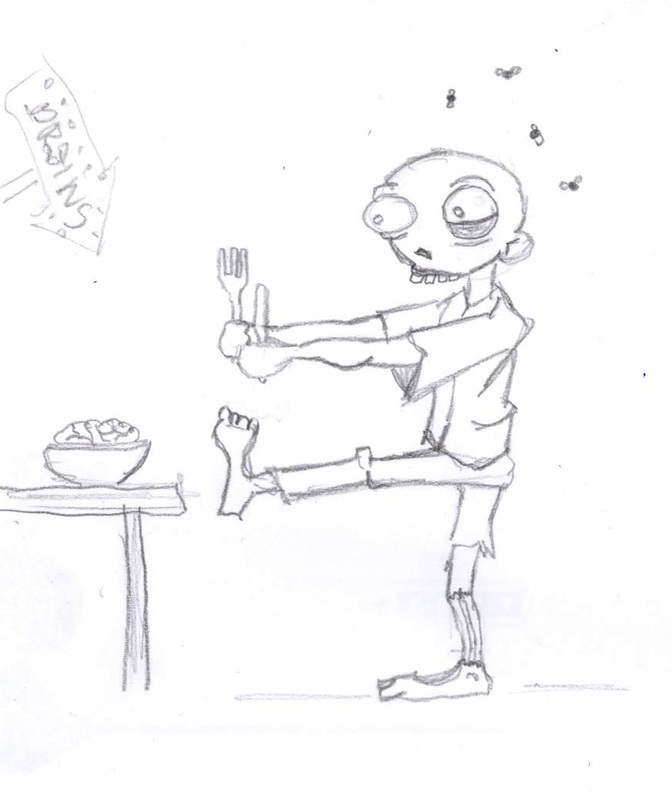
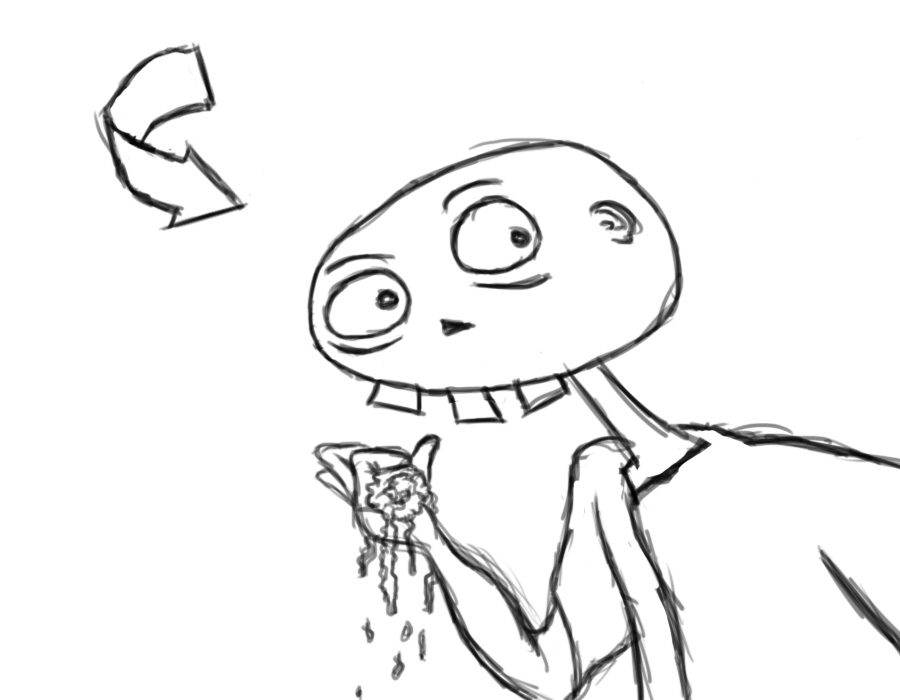
My favorite shots in this previz has to be the final two shots (2.8 and 2.9) where Dead Meat is running away from the burning town, gets the flashbacks, stops up and decides to go back.
I would personally have added the General into the first few shots, as he's supposed to be introduced to the audience here, fighting zombies from his tank. I believe we could've added a shot or two between shot 2.3 and 2.4 focusing on the General and what's happening to the zombies outside.
What sequence of shots are your most favourite?
My favorite shots in this previz has to be the final two shots (2.8 and 2.9) where Dead Meat is running away from the burning town, gets the flashbacks, stops up and decides to go back.


 RSS Feed